Hair extensions have become increasingly popular in the beauty industry over the past decade. Sew-in hair extensions are a great way to add length, volume, and color without damaging your natural hair.
They provide flexibility when it comes to styling options and can last for weeks or even months with proper maintenance.
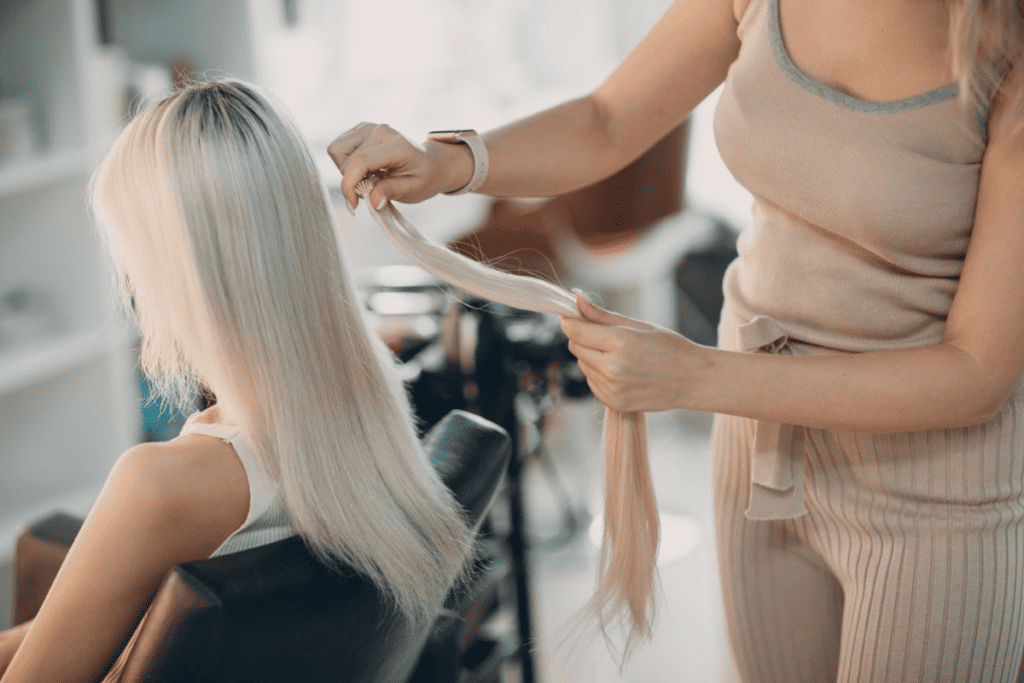
Installing sew-in hair extensions requires some skill but once you get the hang of it, you will be able to install them quickly and easily.
In this article, we'll discuss some expert tips and tricks for installing invisible sew-in hair extensions so that salon owners, stylists, online retailers, and anyone else interested in learning how to properly install these types of extensions can do so successfully.
Understanding Invisible Sew-In Hair Extensions

Definition and characteristics of invisible sew-in hair extensions
Invisible hair sew-in hair extensions are a popular choice for those looking to add length, volume, and color to their natural hair without damaging it.
These extensions provide flexibility when it comes to styling options and can last for weeks or even months with proper maintenance.
Installing invisible sew-in hair extensions requires some skill but once you get the hang of it, you will be able to install them quickly and easily.
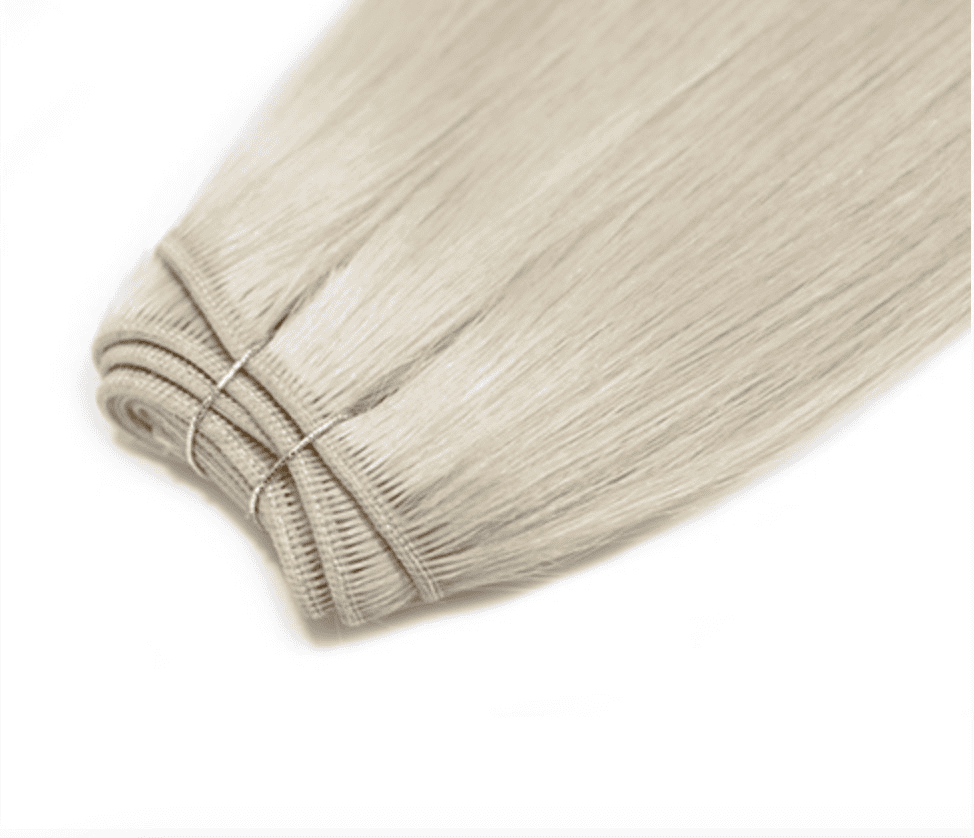
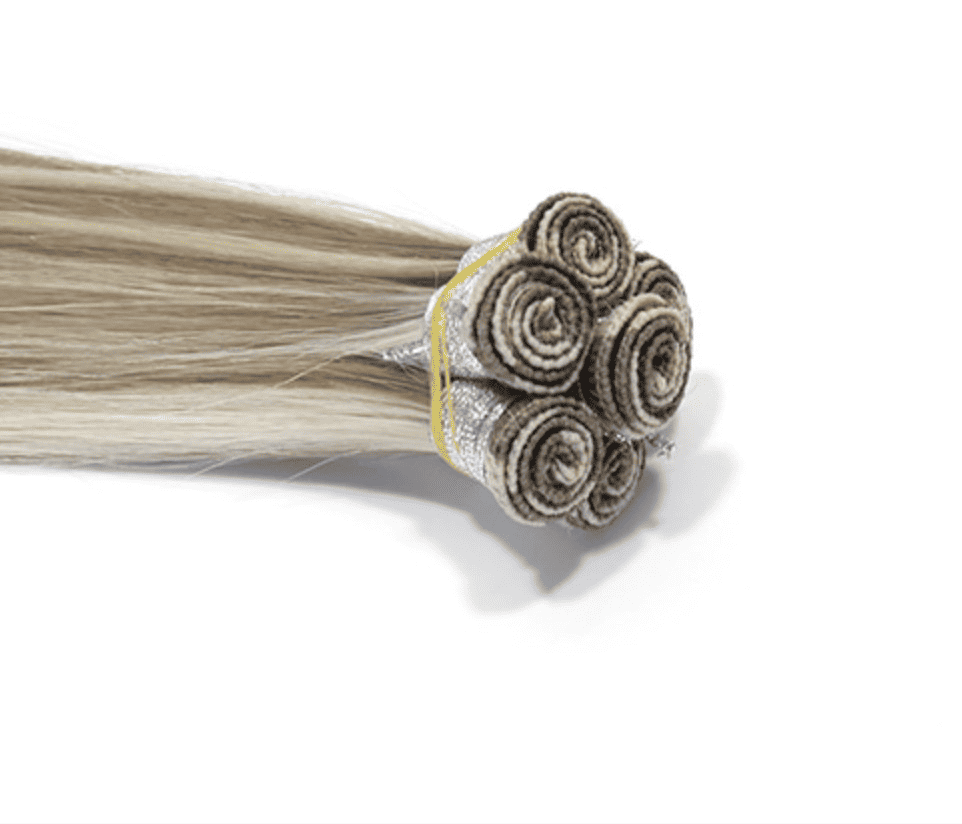
Invisible sew-in hair extensions are usually made from 100% of human hair or remy cuticle aligned strands that have had all their cuticles facing the same direction throughout the manufacturing process - meaning they won't tangle as much as regular nonremy hairs would when washed or brushed through.
The strands range from 8" up to 24", giving users plenty of choices when selecting the right size for them.
Additionally, invisible sew-in extensions are lightweight and do not require any special tools or techniques for installation.
Benefits of using invisible sew-in hair extensions
- Add length, volume, and color to natural hair without damaging it.
- Provide flexibility when it comes to styling options.
- Can last for weeks or even months with proper maintenance.
- Made from 100% human remy cuticle-aligned strands that don’t tangle as much as regular nonremy hairs when washed or brushed through.
- Strands range from 8" up to 24", giving users plenty of choices when selecting the right size for them.
- Lightweight and does not require any special tools or techniques for installation.
Pre-Installation Preparation of Sew-In Hair Extensions

Choosing the right hair extensions for a seamless blend
When selecting the right invisible sew-in hair extensions, it is important to look for quality human remy cuticle-aligned strands that have had all the cuticles facing the same direction throughout the manufacturing process.
This ensures they are less likely to tangle and will last longer.
Properly matching hair texture, color, and length
Make sure that the wearer’s natural, hair color will create a seamless blend and make the invisible sew-in look completely natural.
Before applying for the extensions, it's important to cleanse and condition the hair with a protein-rich shampoo and conditioner, gently towel dry, then apply a heat protectant product to reduce damage from hot tools during styling.
Additionally, it’s best to use real human hair extensions that can be styled with normal heat tools as if it was the wearer’s real hair.
Preparing the client's natural hair for installation
Before installation, the wearer’s natural hair should be completely dry and free of any oils or products that could prevent hair breakage the extension bonds from properly adhering.
It's also important to section the hair out with clips so it is easier to access each individual strand when applying for the extensions.
Ensuring the client's scalp and hair are clean and free from product buildup
Make sure that the scalp and hair are clean and free of any product build-up. This can be done by using a clarifying shampoo to ensure that there is no residue on the scalp or strands of natural hair.
Sectioning and Placement Techniques of Sew-In Hair Extension

When it comes to installing invisible sew-in hair extensions, proper sectioning and placement of the strands are key.
This technique involves dividing the wearer's natural hair into different sections with clips for easier access when applying the extensions and creating a seamless blend.
Additionally, ensuring that the scalp and hair are clean and free from product buildup before installation can help ensure that the bonds adhere properly to create a natural look.
If you want to check a video on how to remove product buildup and what products to use, you can refer to this video by Hair by Chrissy:
To achieve these goals, there are several techniques that should be used during installation.
Sew-In Technique and Tools
The process of sewing invisible sew-in hair extensions requires a few essential steps and tools.
Before beginning the installation process, it is important to make sure you have all the necessary tools and supplies ready beforehand, such as a threading needle, scissors, clips, comb, and a weaving cap.
Step 1: Sectioning and Placement
The first step is to section the wearer's natural hair into 4-5 sections that can be easily accessed when applying the extensions.
Step 2: Sewing in The Extensions
Once the sections are made, take a single strand of extension and secure it to the wearers’ natural hair close to the scalp with a threading needle.
Then, take another strand of extension and sew it to the first one in a crisscross pattern. Repeat this process until all extensions have been correctly sewn into place.
Step 3: Finishing Touches
Once all the hair extensions are properly installed, use scissors to trim away any excess strands that may be visible.
Finally, use a curling or flat iron to blend the hair and weave the extensions with the wearer's natural hair for a polished look.
For salon owners, hair businesses, and online retailers looking to enhance the quality and create a seamless and invisible sew-in look, following these tips can help ensure that their clients are satisfied with their results!
With the right tools and techniques, creating invisible sew-in hair extensions is easy and can help boost client satisfaction.
Blending and Styling of Sew Ins on Natural Hair
Creating a seamless and invisible sew-in look requires the right techniques for blending the client's natural hair with extensions.
Hand-tied wefts, working with the wearer’s own hair, and ensuring that the extensions are tangle free are essential steps when installing invisible sew-in hair extensions.
Here are some of the blending and styling tips of sew-ins on natural hair:
- Curl the hair extensions to match the texture and color of your client's hair.
- Create a natural part line using clips or combs when styling.
- Use heat tools as if it is the wearer’s real hair. This will help blend in any visible strands for a more seamless look.
- Apply a light-hold hairspray to lock in the style and add some shine.
Troubleshooting Common Issues in the Installation Process

When installing invisible sew-in hair extensions, it is important to take into account the possibility of common issues arising during the installation process as salon professionals.
Heat styling tools such as blow dryers or flat irons can be used in conjunction with extension hair to provide clients with a more natural look and blend.
However, if not used properly, these tools can damage the extensions and lead to breakage or frizz.
It is also important to make sure that all knots are tied securely during installation, as loose knots can cause the extensions to slip out prematurely. Additionally, ensure that all sections are evenly placed for a more natural appearance.
Quick Tips for Preventing Hair Extension Mishaps:
1. When styling, always use heat-protectant product to shield the extensions from potential damage. This will also help to keep the extensions looking healthy and shiny.
2. Make sure to tie knots securely when installing hair extensions as loose knots can cause them to slip out prematurely.
3. Apply a light-hold hairspray to your hair weave keep the extensions in place and prevent flyaways.
4. Always use professional-grade products that are specifically designed for use with hair extensions as regular hair care products may damage them.
Post-Installation Care and Maintenance of Sew-Ins
Once the sew-in extensions have been installed, it is important to follow a few simple instructions for proper care and maintenance in order to prevent hair loss and achieve desired hair goals.
For starters, clients should avoid using harsh shampoos or conditioners that can cause damage and dryness to weft extensions. Instead, they should opt for sulfate-free and silicone-free products.
It is also important to brush the hair daily with a wide-tooth comb or detangling brush to prevent tangles and breakage. Clients should avoid using heat styling tools on extensions as this can cause damage. When necessary, use heat protectant sprays before styling.
Finally, it is important for clients to visit their salon frequently for regular maintenance checks and trims to ensure the extensions remain in good condition.